Mt Buffalo: The Horn

Big Gun and Little Gun hill respectively, then the distant, larger Horn, summit spire. The Horn Road at Mount Buffalo.


This is a classic tour for anyone at any level, whilst best suited to beginners. The rule with Buffalo is this… if the Hotham road is, or has been closed due to a blizzard, then Buffalo is the place to be. The conditions that it takes to close the road up Hotham are what it takes to get Buffalo into good condition. Lots of fresh snow. Be warned, Mt Buffalo ski touring is either super benign (read flat!), or super technical with rarely a moment to relax and simply link turns in between.

View of the Cathedral in mid winter glory. The weather here on the road is an indicator of what conditions will be like at the upper sections of the Horn Road. Photo: Buffalo Ski School

From the roundabout across the Ovens River head up the Buffalo Tourist Road. Drive up the mountain. Keeping to the bitumen road and veering right at the Chalet/Gorge Road you head up to the upper plateau. Cresta Valley is at an elevation of just under 1500m and by todays standard that relegates it to being marginal for snowfall this far north on the Front Range. Dingo Dell passed on the way in is a snowplay area with a cute bustling Cafe. The Cresta carpark now stands in the place of the resort building that burnt down in the 2006 fires. The slopes remain untouched from that era even down to the lift cables, towers and stations (although plans are underway to remove the old infrastructure). The voracious regrowth of the under story on what was once the piste of the resort means that it takes a decent base of snow to render that area skiable. At the southern most end of the carpark is the trail head, the continuation of the tourist road, to The Horn (1710m). Above the Cresta Carpark looms large The Hump (1680).
Cresta Carpark which is the limit of vehicle traffic in the white season at Buffalo, so drive until you cannot drive any further. Access to the mountain and parking is free. Facing the long flat road to The Horn from the carpark you will note that there is a vague trail heading up on the toe of the hill immediately right of the road block, behind the information board. This is the South Buffalo Viewpoint Track, an 8k return trip across the ‘high meadow’ and a fun place to explore having familiarized yourself with the lower plateau area first.
Organise your party to start at the gated road.

This entire area is National Park and as such in the event of an emergency call 000. Mobile reception is poor in most places in the valleys, the east aspects of the peaks with line of sight toward Bright are better. Also near the toilet block in the Cresta car park on the shed is a near field antenna. Stand within 20m of the buildings and you will have enough reception to get a call out. Failing that, if you have CB radios you can contact Parks, in an emergency on the mountain on channel 10, or simply drive to the ranger station located on the west side of the main road between The Gorge Road and Lake Catani. The rangers here are a really good resource for local knowledge and conditions, as is Dave Chitty and his staff at Adventure Guides Australia, local ski and climbing guides. Hire them if its your first time…

The biggest bummer about this tour is the walking tourists who post hole the whole track. We are all for everyone getting out and enjoying the hills, if walkers kept one side free of post holes for skier it would be awesome. Ideally get in early before the hoards. Or take the ‘side tracks’ options outlined in the tour notes.
Without the ability to skate (even on fat skis) this tour is arduous with little return for effort. The trick is that on pattern base skis there’s only just enough incline to slide (given the extra friction of the pattern), in normal often icy conditions, while on slick freshly waxed ski bases the return trip can be quite fast and fun. Increasingly we see skins out on the trail over pattern base. ‘Kicker Skins’ are perfect out here. This is counter intuitive given the strong XC roots of the area but it works.
There are some flat sections on this tour, enough in fact to make this less than ideal for split boarders. If you follow the road there is really only one transition at the top. The tour up the road is often the scene of various tow rope arrangements and or toboggan hauling with teams of dads working the ropes and the kids enjoying the free ride to the top. The above aside, you can do this tour in any mode from skating, light tour, telemark through to heavy frame bindings.

If you follow the road you really cannot go wrong. If in doubt, or if you take the side tracks, and you get lost, simply turn around and retrace your advance until it makes sense. Walking the track to the Horn summit from the Horn car park is an optional inclusion in this tour. It is not a ski route (Advanced terrain) and not well marked in winter. It is always very exposed, often steep and can be very icy. In winter conditions it’s not advisable (turn around at the shelter), with mild spring conditions and clear skies, whilst steep it can be an enjoyable climax to the tour. You will find ski trails heading in literally every different direction as the locals have a tendency to ‘rip it up’ so be sure to follow these directions and don’t assume any other trails share your objective.

Early season snow. The view up Running Jump Creek valley up to the constriction where you can rejoin the Horn Road, visible on the opposite hillside left of the peak.
Tour Notes
Cresta Trail Head to Lyrebird Plain
The description provided here describes a tour, in part, parallel to the road for the ascent, then follows the road for the descent. The recent bushfires in 2020 have opened up the area and cleared lots of fallen timber, making for pleasant skiing where previously the bush was too dense. This may revert and become much harder following regrowth. This is described this way to help develop some of the skills required in the other more challenging tours included here. With a few quick skin transitions (good practise) you get a more varied tour with some fun short slides along the way and a chance to build on ‘off the beaten track’ navigation. If visibility or conditions deteriorate the safest option is to follow the Horn Road both up and down. Never more than 200m from the route described.
From the gate (snow wall) head out and along the long flat road from the carpark. To the south of the track is the open Kowan plan and two low knolls, Little and Big Gun hill (although the conspicuous gun shaped rock is only visible on the other, south, side). To the right is a hills side leading to a higher elevated plateau. Follow the flat road to the second gate where the trail begins to ascend to The Horn.
At the ‘second gate’, with enough snow to provide a safe snow bridge, particularly if the trail is covered in footprints, skiers might prefer to cross Running Jump Creek on the right of the gate and follow the north bank upward until the open valley constricts and again and a route can be made that intersects (crossing back over the creek) with the Horn Road.
Rejoining the road, now cross it again, and make for the high point around 30m elevation, 100m due south of the crossing. This is the knoll just immediately behind ‘Big Gun Hill’. The hill with the precarious stacked boulders. Transition at the highest point and descend in the lightly wooded hill side on a South West bearing, through a shallow saddle / flat, to then veer West and drop down to rejoin the road (on skier right). Again cross the road here until you reach the flat of Lower Lyrebird Plain. Transition to uphill mode on the flat.
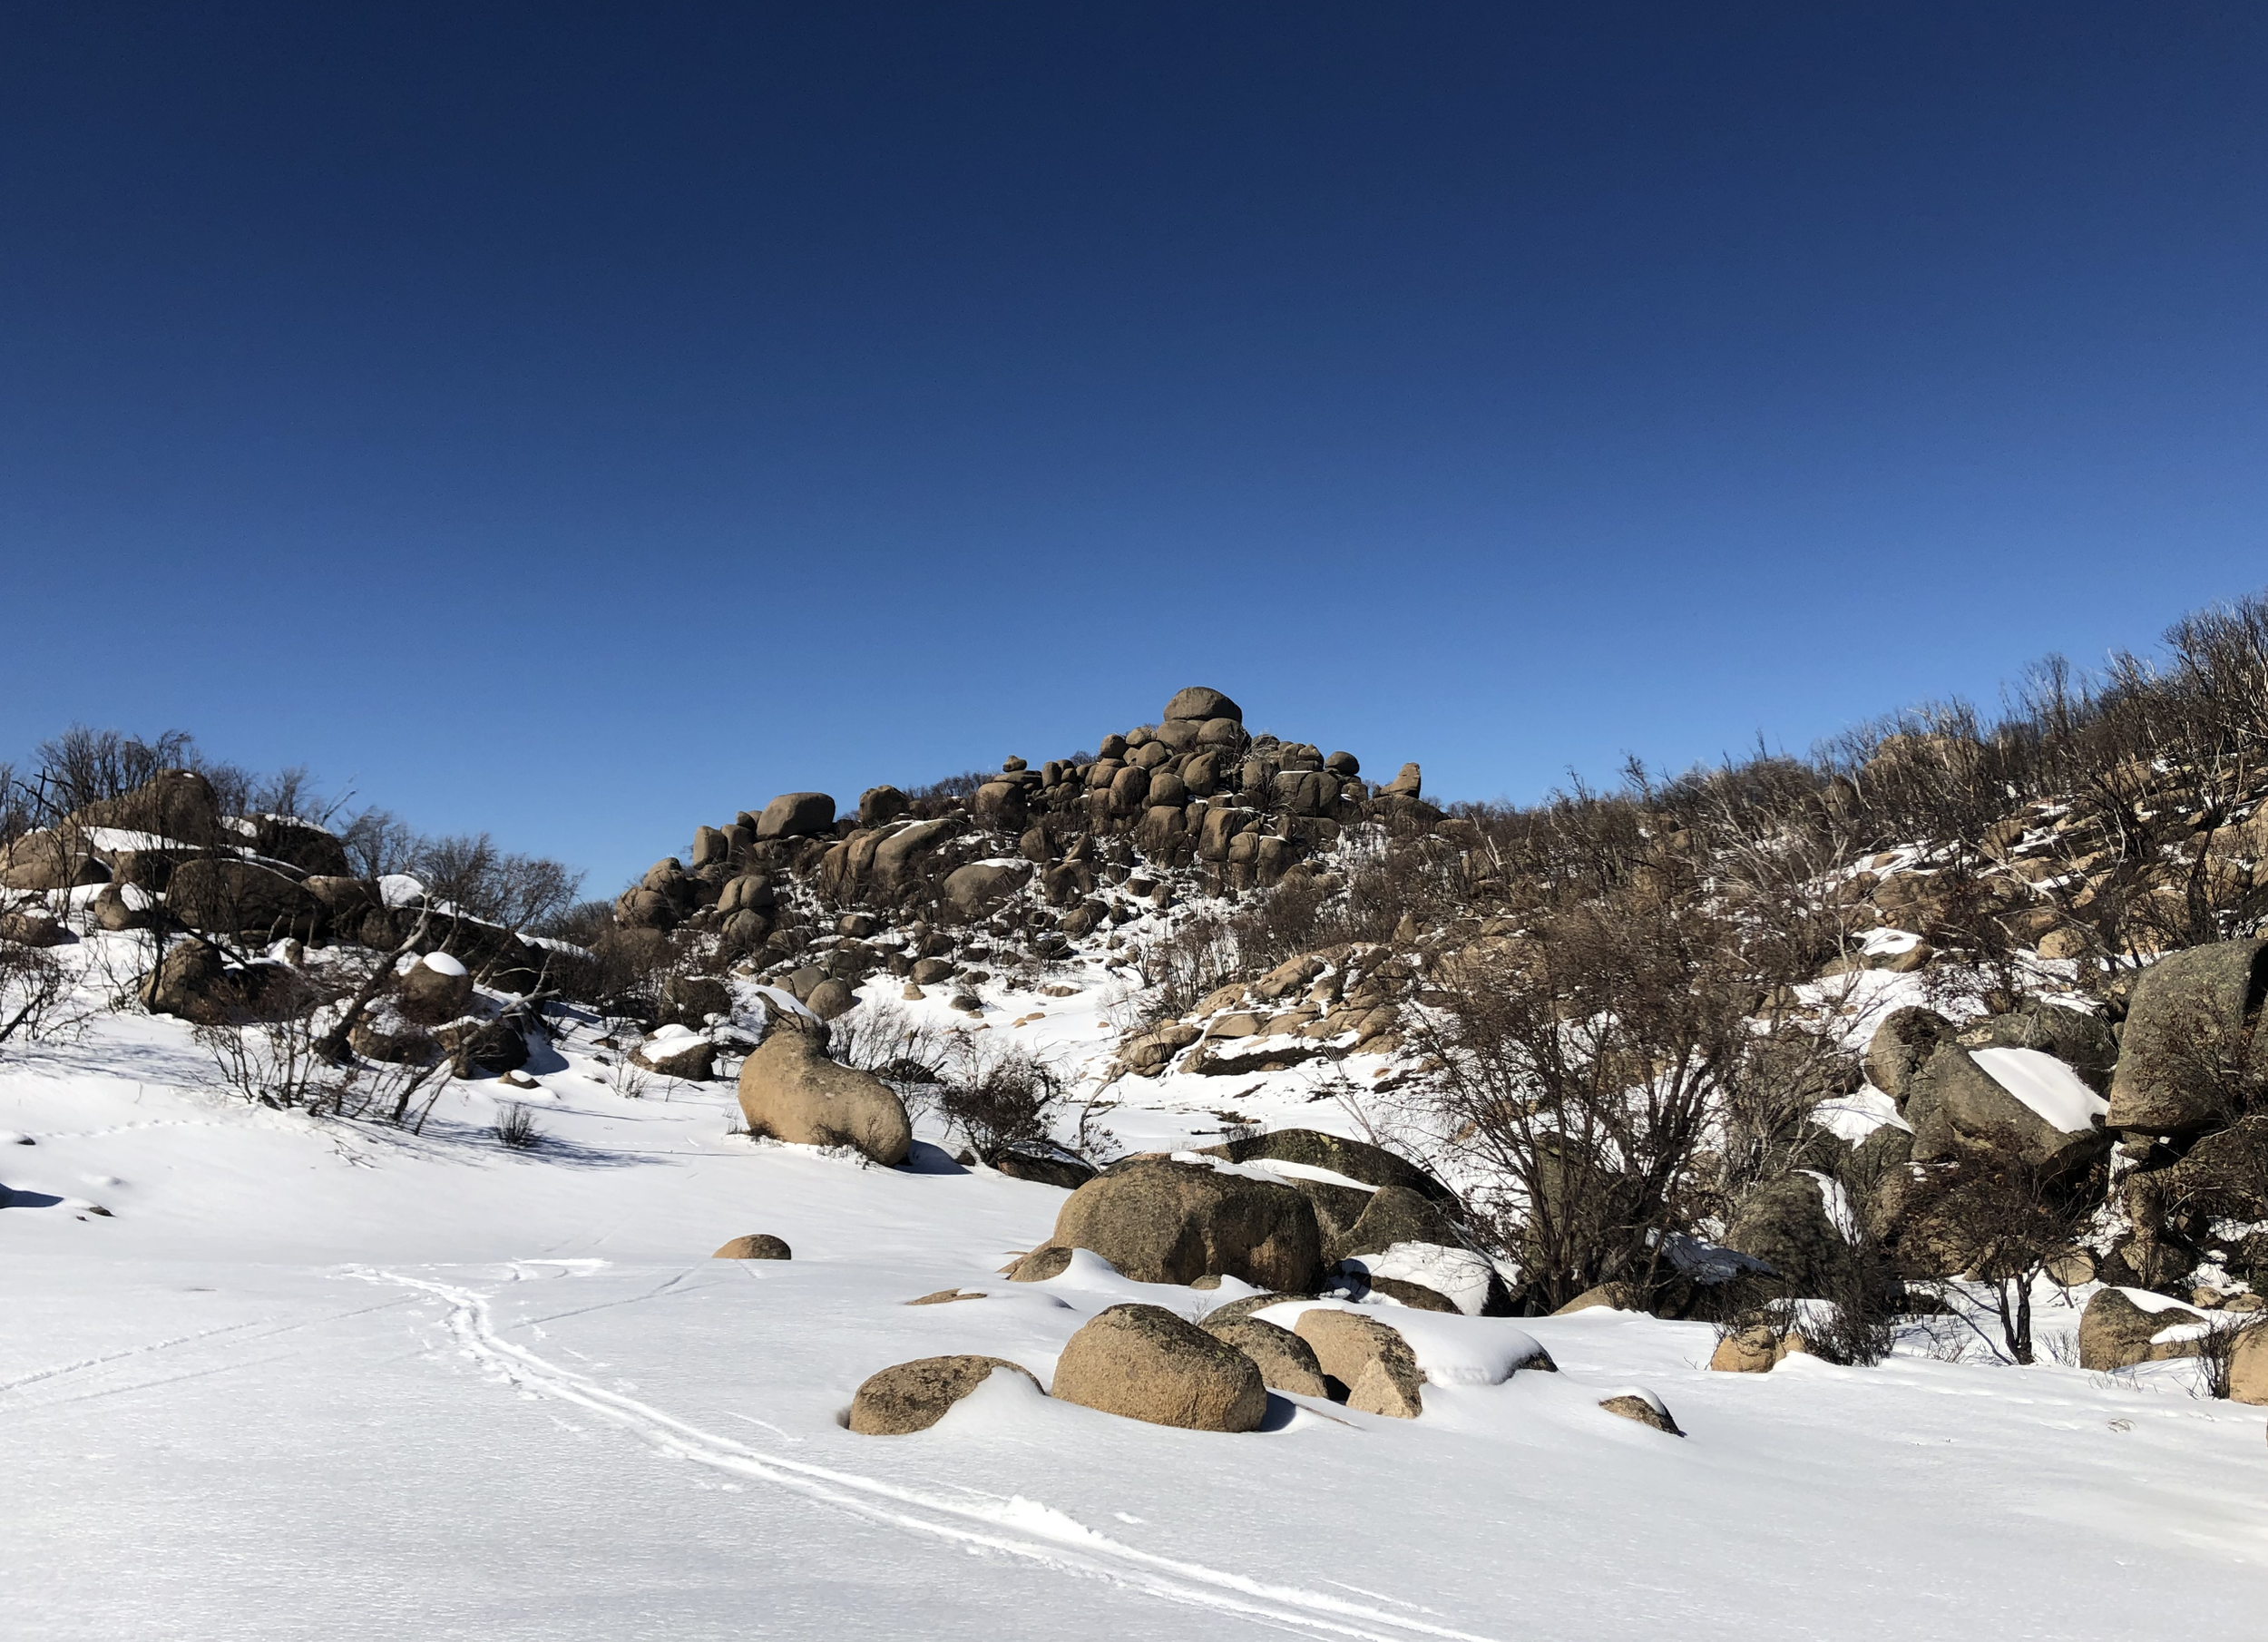
The view back over the shoulder after the drop back to the road, with the back of Big Gun Hill centre frame.
From below the steep embankment of the road contour around below it into a gentle climb. This is Lyrebird Plain. This next section requires some subtle route finding so if in doubt, on the ‘skiers left’ contour you can rejoin the road at the ‘Lyrebird Plain’ sign. Follow the Horn Road upward from here.
’The Long-cut’ (because it’s not a short-cut) From the dip below the sign, looking South West you will see a gully ascending toward the summit of The Horn. Follow this valley up. When it closes in you end up on a saddle. From here zig zagging up passing to the skiers left of ‘But Crack Rock’ (a recognisable landmark) and very steeply up to the road at the last 5m (walk up perhaps). This section is good navigation and route finding training. If its get weird, turn around, transition and you are back at the ‘Lyrebird’ sign in just two minutes.
The road to the top.

Perfect spring conditions on the upper Horn Road. The view South West toward the Dandongadale.
The Horn Road and the ‘Long-cut’ rejoin after the first hairpin in the road. Follow the road past another four hairpins as the road winds its way up. Take note of the surface through the hairpins as they ‘come in hot’ on the way down and best to avoid any surprises. From the last hairpin the trail leaves the relative shelter of the tree line. The Car park sits 400m further along the road from here, you are almost there.

Beautiful but intimidating: The Horn Summit in mid winter condition…
Image courtesy of @Paddles55
Summit Optional!
As the old mountaineering quote goes: The summit is optional, getting home safely is mandatory. This is absolutely the case here. From here to the actual summit of The Horn is a steep half hour walk, NOT SKI! (hour return) in deep snow conditions. The top exposed area is often rimed (iced) up See Photo, and the track on the way up is not clearly marked in winter. In warm spring-like conditions, with the sun shining and a view on offer, assuming you have the time, tick the summit. If not… its time to ski.

The Horn Car Park and the lookout / shelter.
Image courtesy of Mount Buffalo Ski School
Transition here near the Lookout Hut. In downhill mode it is important to organise the group so that the best skier is last (the sweep), that the last won’t ski pass anyone and in acting as ‘the sweep’ . Usually it’s a good idea for the rest of the party to space out too. The descent follows the road and not the various ‘side tracks’. Regroup on the way down, at the Lyrebird Plain Sign or another agreed point, in case something goes wrong for someone in the party.
Pretty quickly you’ll end up back at the ‘second gate’ with a little bit of an uphill near ‘Big Gun’. Then it’s! Flat from gate to gate and the Crest Carpark. With any luck the evening freeze will have kicked in and you might be able to skate back across the flat if there’s anything left in the legs.